Note:
This guide will teach you how to install and setup SAM-BA tool for SAMA7G54-EK.
SAM-BA Installation and Setup:
Install SAM-BA tool on your windows host PC.
- To Download the latest version of SAM-BA tool for Windows click this link.
- Download the ZIP file and unzip it into a working directory of your choice.
- Add the SAM-BA directory path to the environment variables.
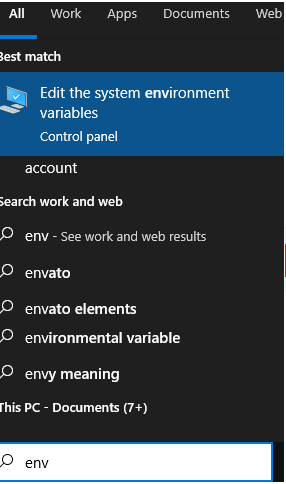
- To do this from your PC –> Open the Start Search, type in “env”.
- Choose “Edit the system environment variables”.
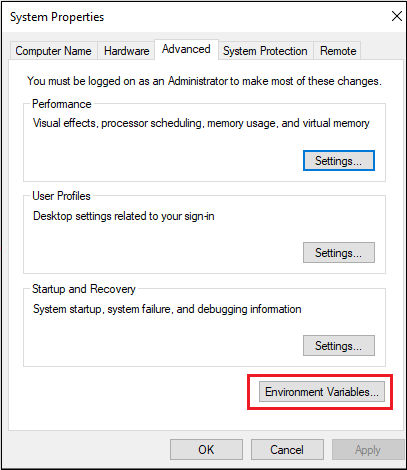
- In System Properties window, Click on “Environment Variables” in Advanced tab.
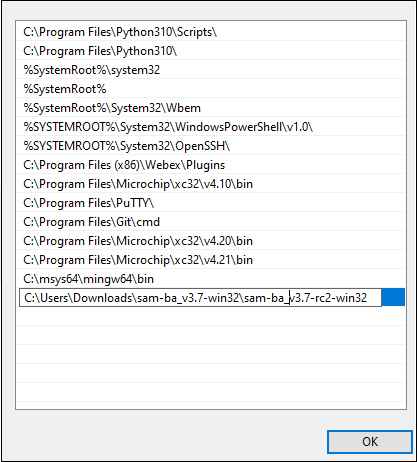
- In Environment Variables window, double click on “path” in System Variables section.
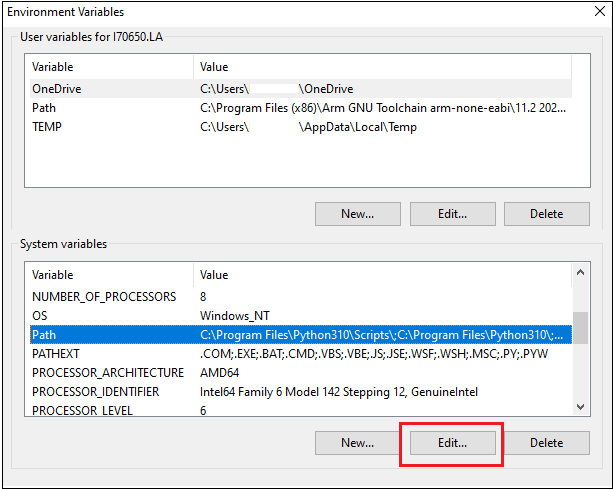
- Add SAM-BA directory path to path variables.
- Once the SAM-BA Host program has been installed, the execution of the application is from the Windows command prompt.
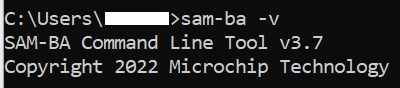
- Now open Windows command prompt and enter the below command to ensure sam-ba is installed properly.
sam-ba -v
Setup to flash using SAM-BA:
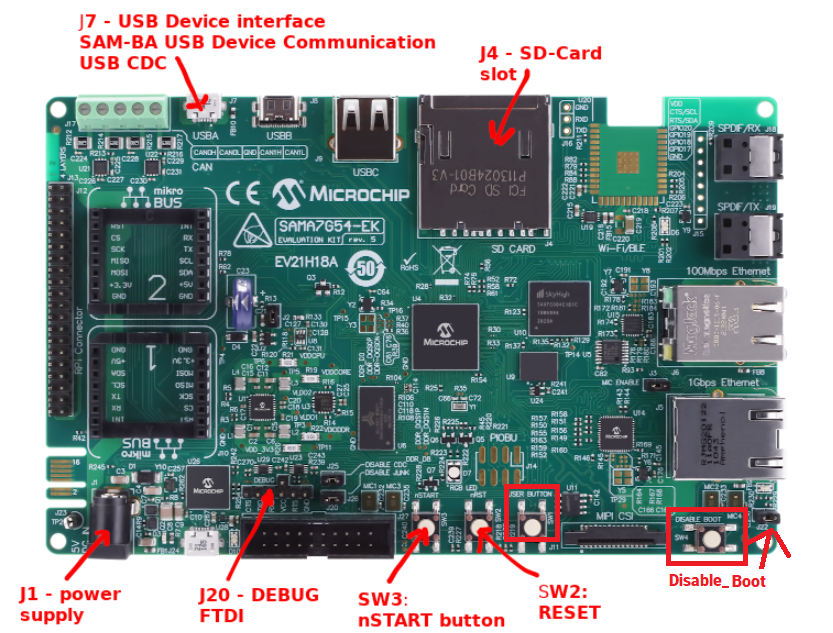
- Open Disable boot Jumper(J22) on SAMA7G54-EK Evaluation Kit.
- Ensure there is no SD memory card inserted.
- Power up the SAMA7G54-EK Evaluation Kit by connecting 5V/2A power adapter to J1 connector or by connecting a micro-usb cable to J7 connector.
- Connect micro-usb cable to J24. J24 will work as CDC COM Port as well as Onboard debugger.
- Press and release start(nSTART) button.
- Push and hold the “DISABLE_BOOT” button. (This disables booting from the onboard memories - QSPI, e.MMC and SDCARD)
- Reset the board by pressing and then releasing the reset “nRST” button.
- Release the “DISABLE_BOOT” button.