
2.6 Adding and Configuring G3 Stack to Project
- Add G3 Stack Component. On Device Resources, navigate to SmartEnergy → G3 Stack and click on + sign next to G3 Stack
Figure . Add G3 Stack 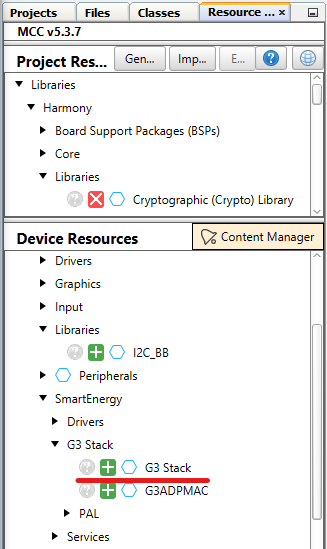
- Double-Click on G3 Stack folder just added, or select G3 STACK on the View Selector in Project Graph window. This opens a new Project Graph view, where G3 Stack components will be added and configured.
Figure . Select G3 Stack 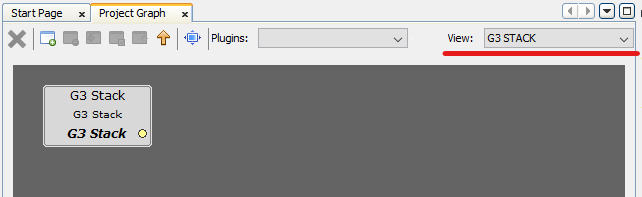
Configure G3 Stack Component.
- Click on G3 Stack component, on Configuration Options set G3 Mode of Operation to G3 Stack (ADP + MAC) Hybrid PLC & RF:
Figure . Set G3 Mode of Operation 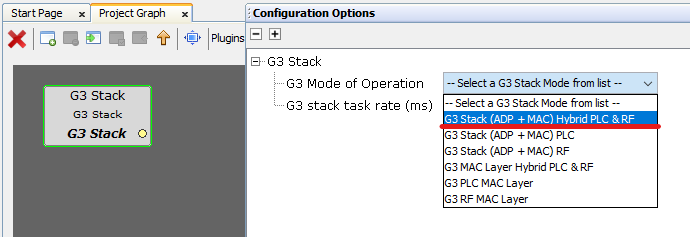
- This triggers the G3 Components Auto Activation. For the selected option, 3 Confirmations are required to activate all components, as seen on the following figures:
Figure . Auxiliary Services Auto Activation 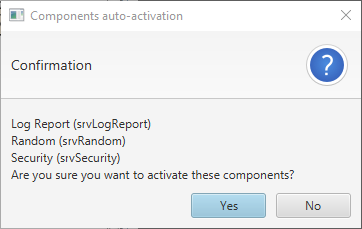
Figure . PAL_Layers Auto Activation 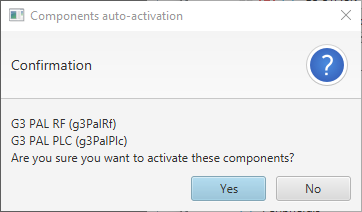
Figure . Queue Service Auto Activation 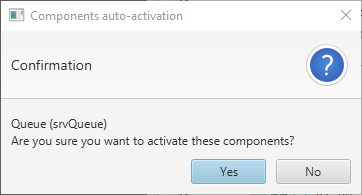
- When all components are activated, they appear on the Project Graph:
Figure . G3 Components Added 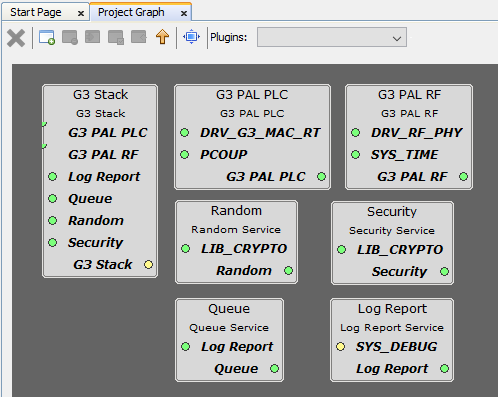
- Click on G3 PAL PLC component, on Configuration Options enable PVDD Monitor:
Figure . Enable PVDD Monitor 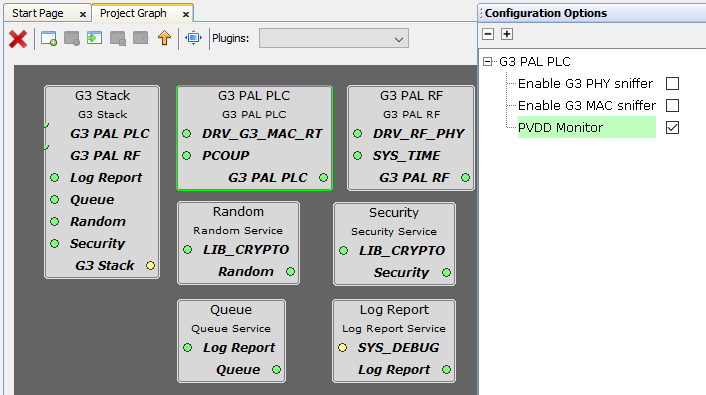
Every other components configuration will use their default values.