
12.4.7.2 Project Properties Configuration for Serial Bootloading
By following the previous steps, the Zigbee OTA Server capability is added into application project.
The below steps are needed if upgrading the server firmware through UART when Bootloader service is added as per step Bootloader Services. Referring to Memory management, Metatdata header and "Bootloader" has to be added into the project to receive new upgradable image over UART.
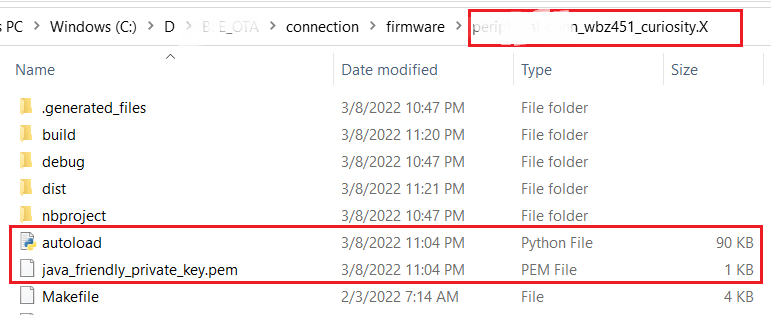
MPLABXTools environment allows to configure and append the Metadata header into application image. The needed script is added into project folder (.X) when the "Bootloader Service" component was added and the code was generated from MCC.
Note: Before proceeding to below steps, close the OTA application project and reopen the project. This step is mandatory for "SignFirmware" and "OTA" bin generation MPLABX script to be loaded into project environment.
Right click on the project -> Properties.
Figure 12-84. . 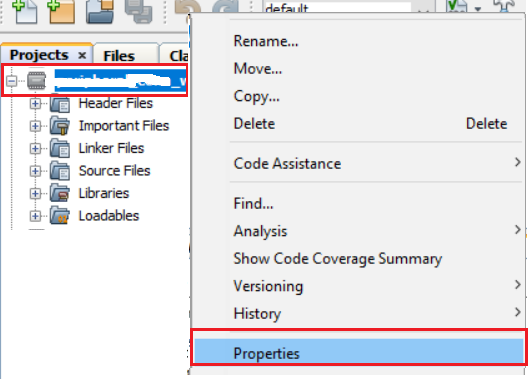
Figure 12-85. . 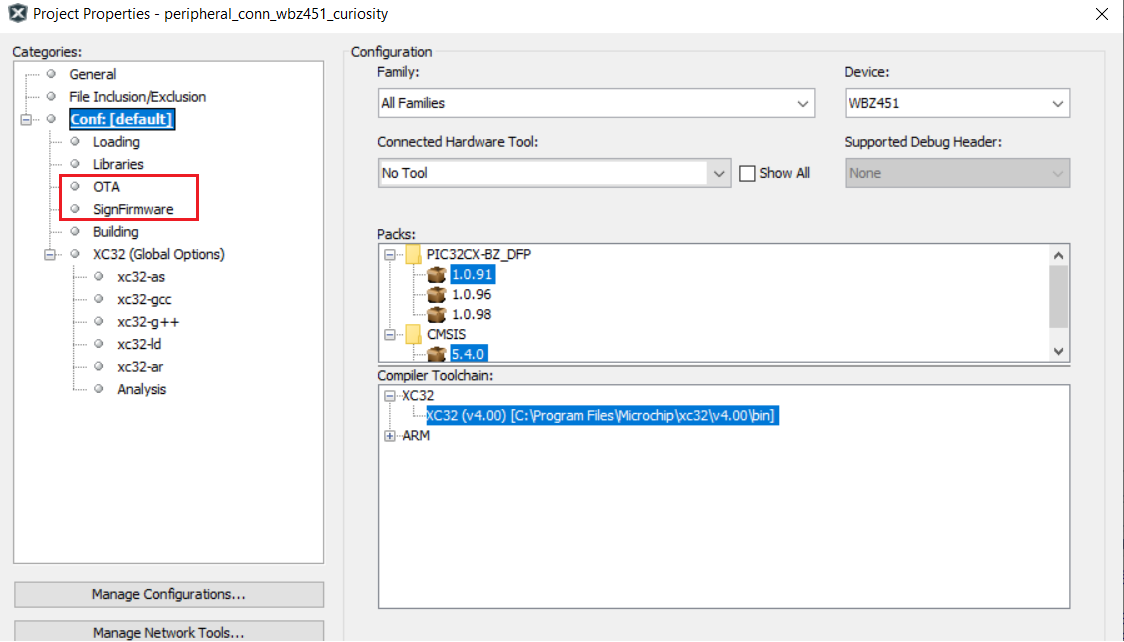
- SignFirmware - Adds Metadata header into application image. Refer to Meta-data Header Configuration for more details on header format. There are configurable parameters like Firmware Rev (version), authentication method and manufacturer ID. Configure as per requirement.
Figure 12-86. . 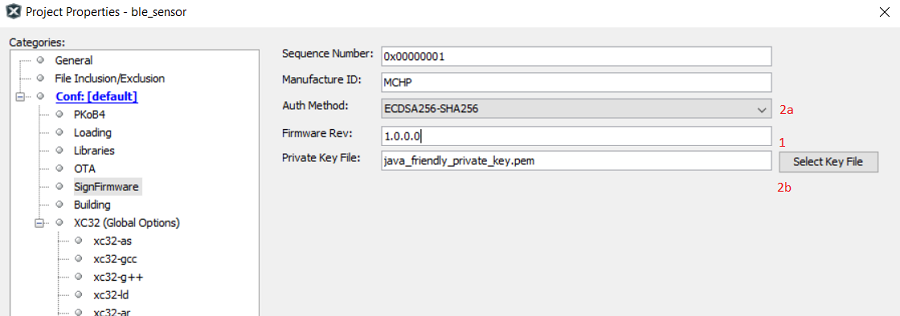
Step1: "Firmware Rev" - Firmware version of current running firmware.
Step2a:"Auth Method" - There are 3 Supported authenticated methods
Step 2b: Signature validation (ECDSA256-SHA256) – most secure, and data integrity check. Signature is encrypted using ECDSA private key. 256-bit ECDSA Public key to be programmed in device to do signature decryption. openssl (example commands: https://techdocs.akamai.com/iot-token-access-control/docs/generate-jwt-ecdsa-keys) is one of the open tools to generate ECDSA public/private key pair. Sample private key is available in project folder .X. Public key is input in Bootloader project.
Hash validation (SHA-256) – less security, and data integrity check.
No validation (None) – no security, no integrity check.
Warning:Make sure to keep "Sequence number" as non-zero value and not 0xFFFFFFFF.
Bootloader - Standalone Bootloader project is available in \bootloader folder. The bootloader code stays in Boot Flash section. The bootloader project can be added as loadable project into OTA project. When the OTA project is build, unified image with Bootloader+Metadata Header+Firmware will be generated. Add the loadable project/loadable file (bootloader.hex) into OTA project as shown below.
Figure 12-87. . 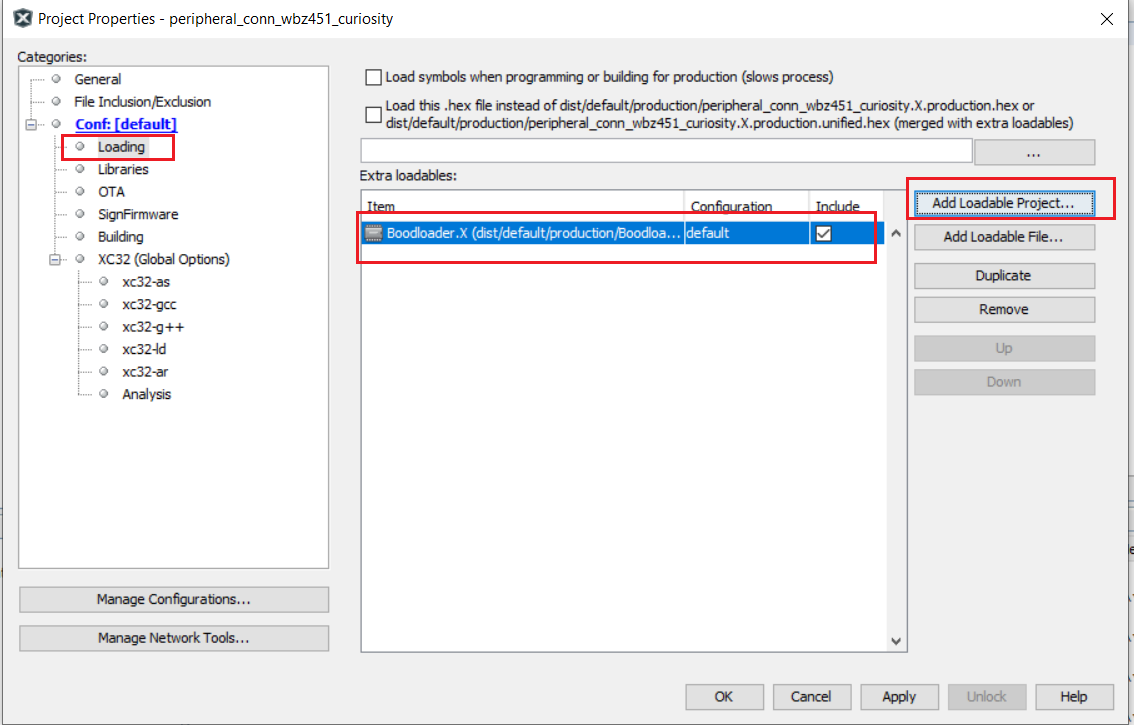
After doing the above steps, click on "Apply", then "OK" to take the changes into effect.