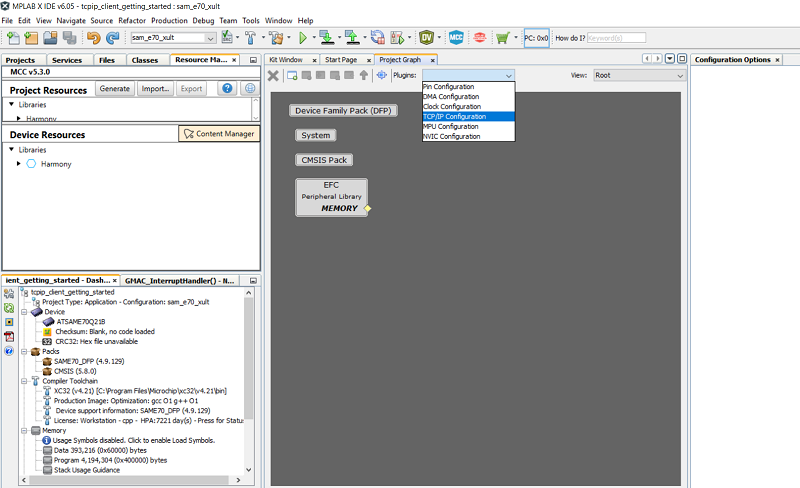
Start TCP/IP Configuration from Plugins drop-down menu
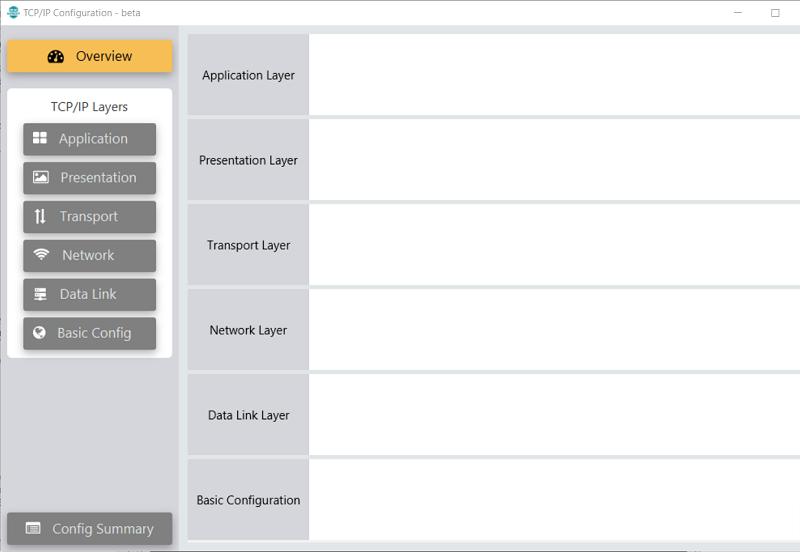
TCP/IP Configuration starts with empty Overview window
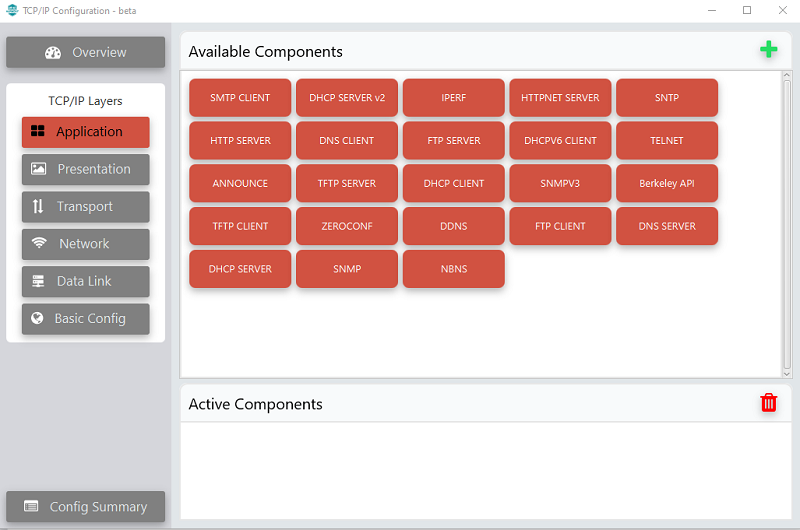
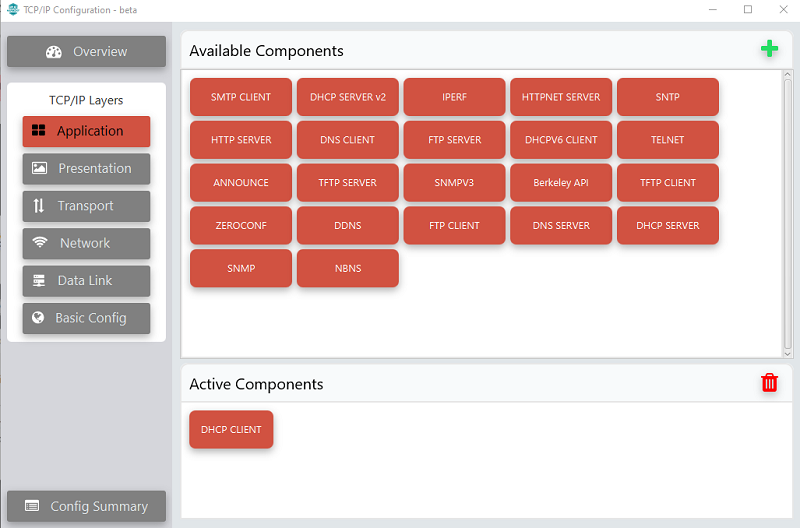
Click Application in TCP/IP Layers on the left side pane
Add DHCP CLIENT by drag and drop from Available Components to
Active Components window
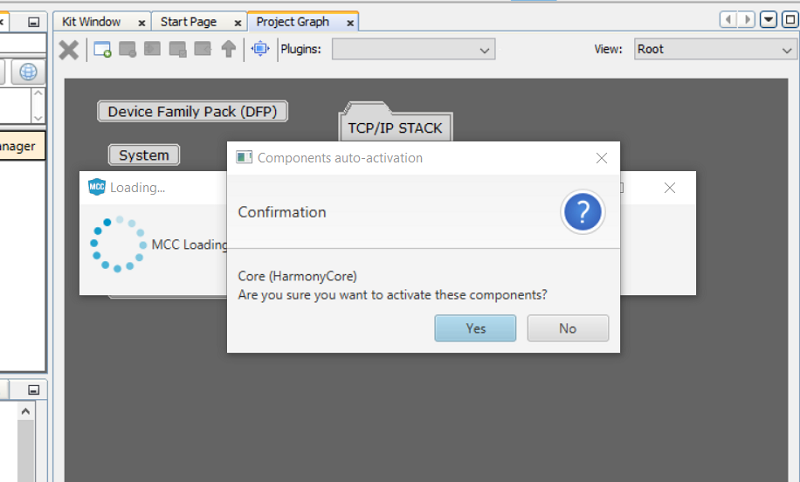
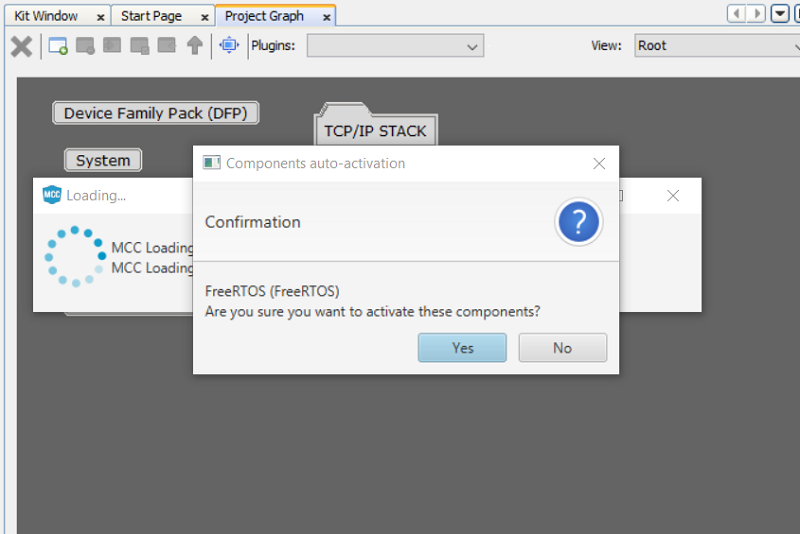
Click Yes for adding Harmony Core
Click No for adding FreeRTOS component. This example is a Baremetal project.
DHCP CLIENT moved to Active Components window
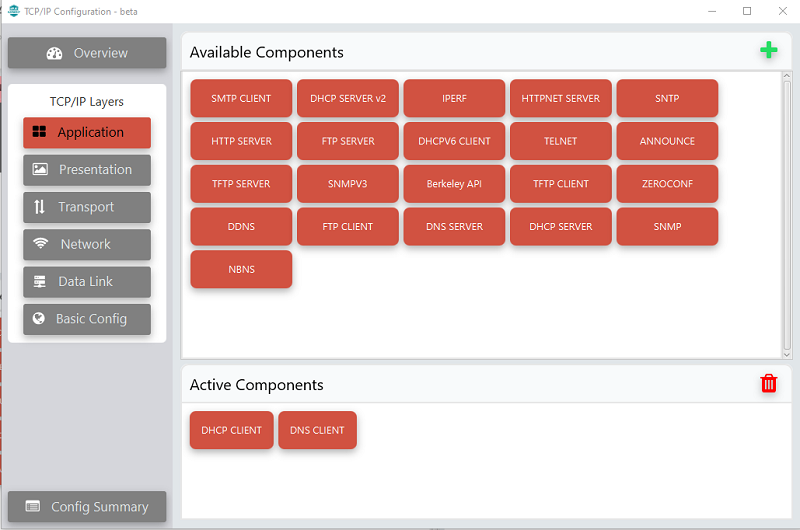
Add DNS CLIENT to project
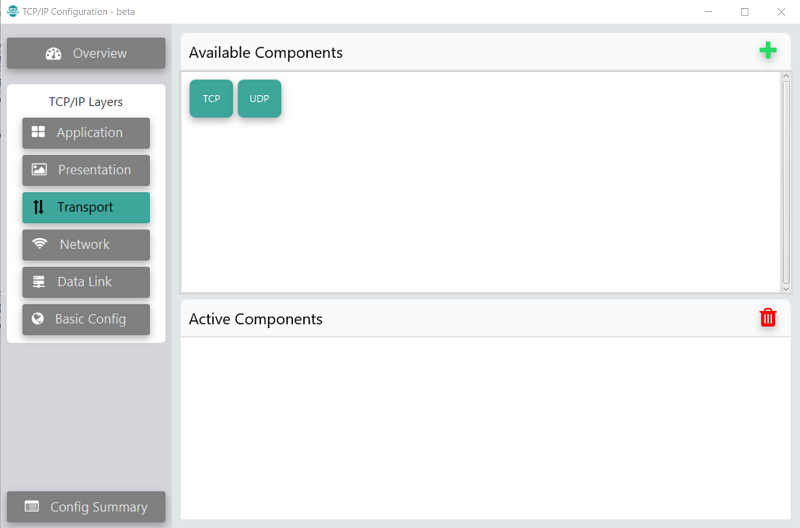
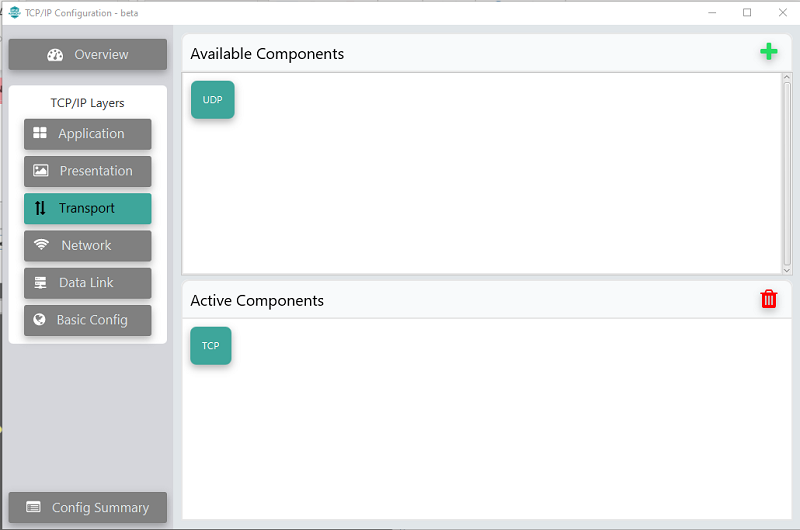
Click Transport in TCP/IP Layers on the left side pane
Add TCP to project. This will add Crypto Library also to the
project.
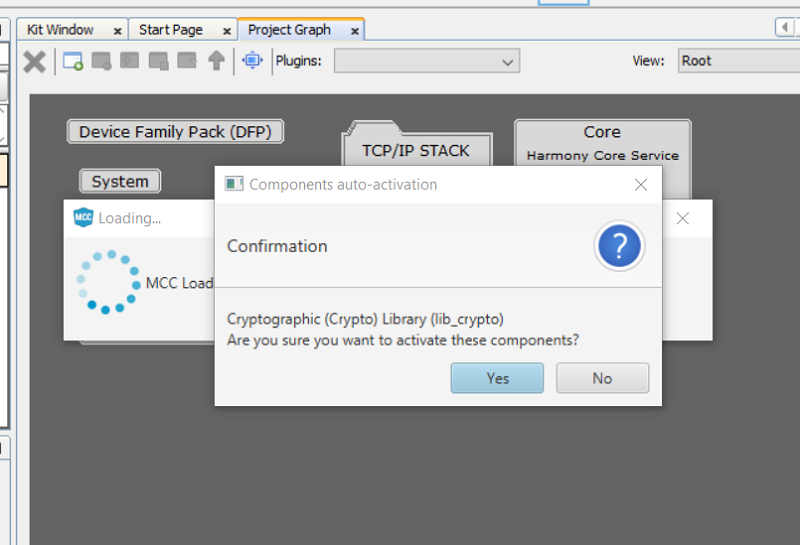
Click Yes to add Crypto Library. The wolfCrypt
Library will be added to the project.
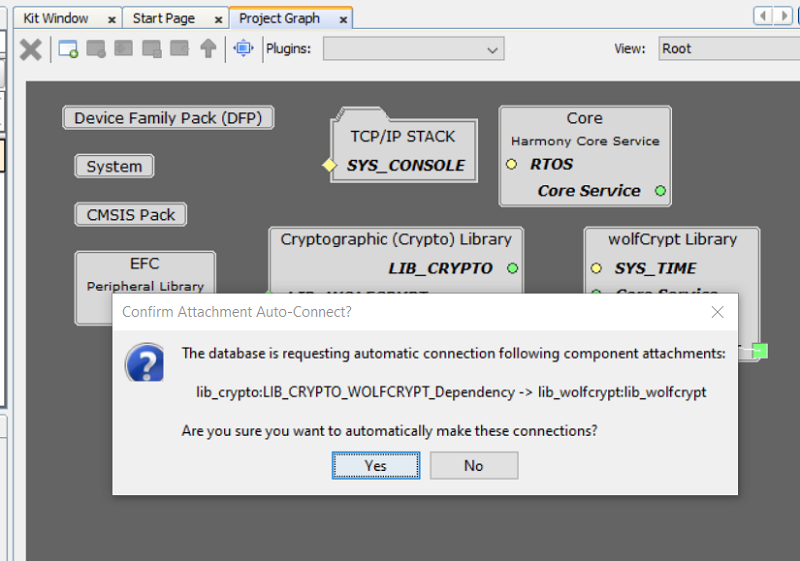
Click Yes to add wolfCrypt Library.
Click Yes to connect Crypto Library and wolfCrypt
Library in project graph
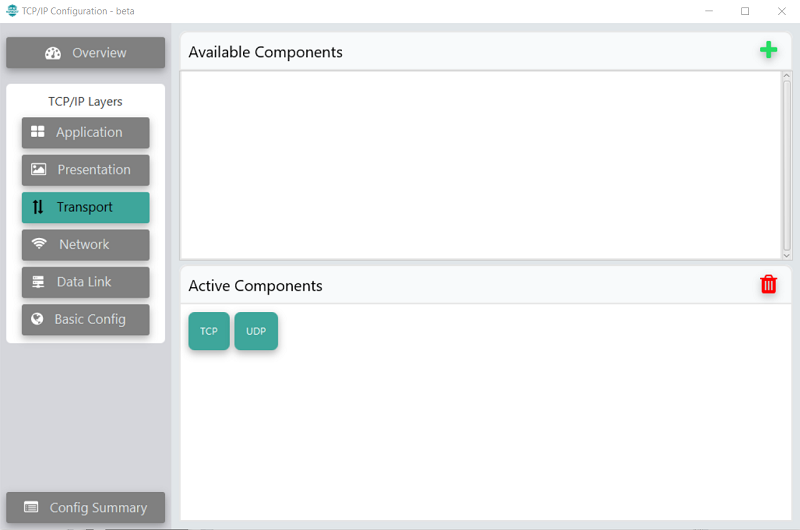
TCP added to project
Add UDP to project.
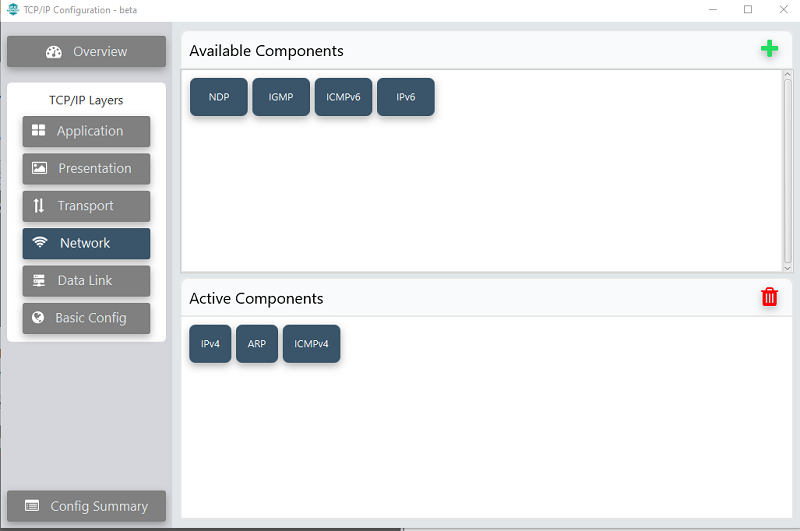
Click Network in TCP/IP Layers on the left side pane
Add IPv4, ARP and ICMPv4 to project.
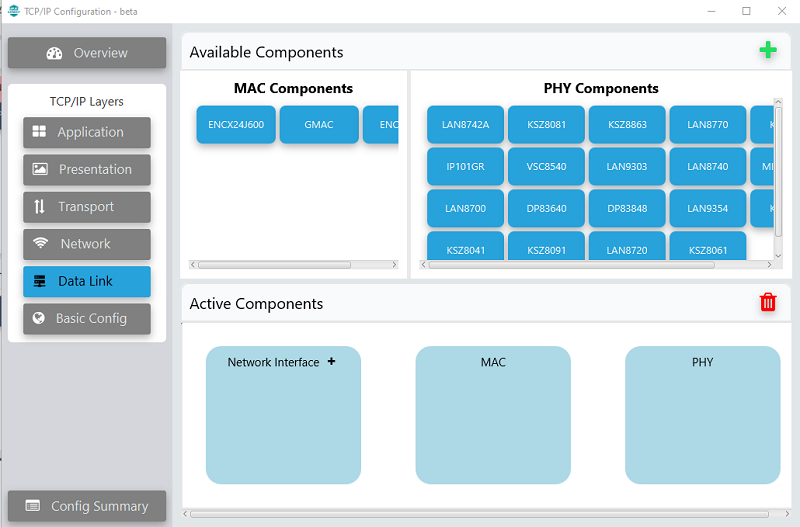
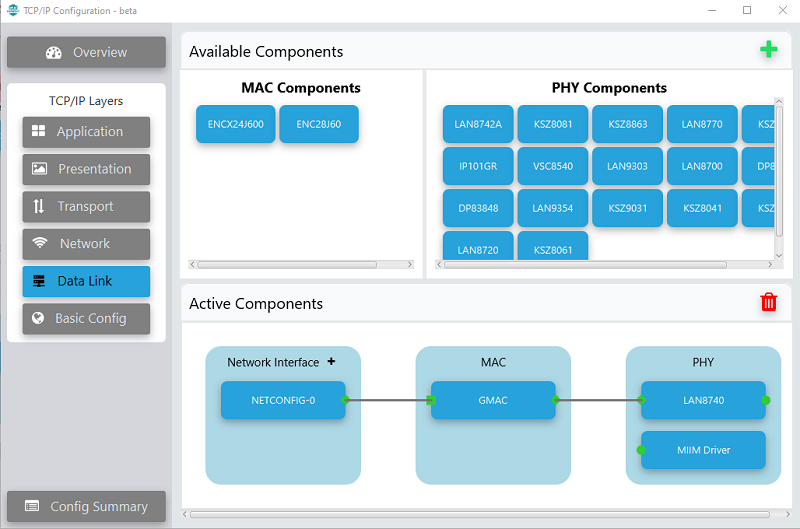
Click Data Link in TCP/IP Layers on the left side pane
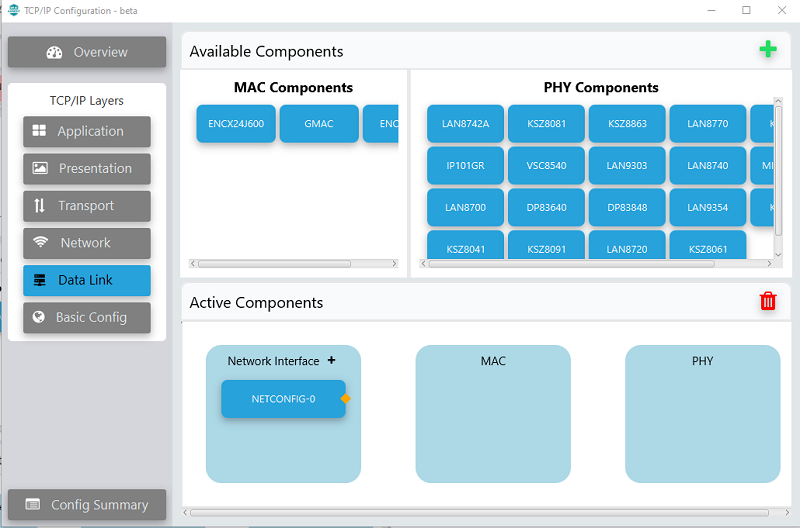
Click ‘+’ of Network Interface to add an Interface. This will add NETCONFIG-0
to project
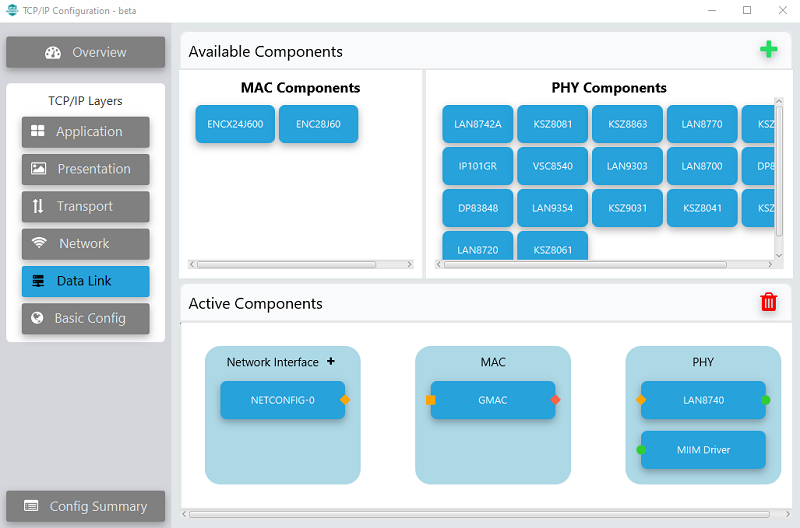
Add GMAC to project from available MAC Components.
Add LAN8740 PHY and MIIM Driver from PHY Components.
Connect Network Interface , MAC and PHY
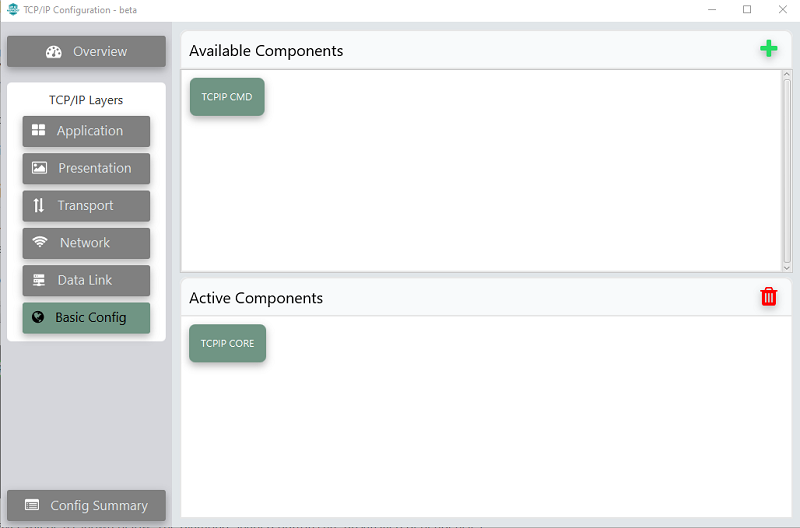
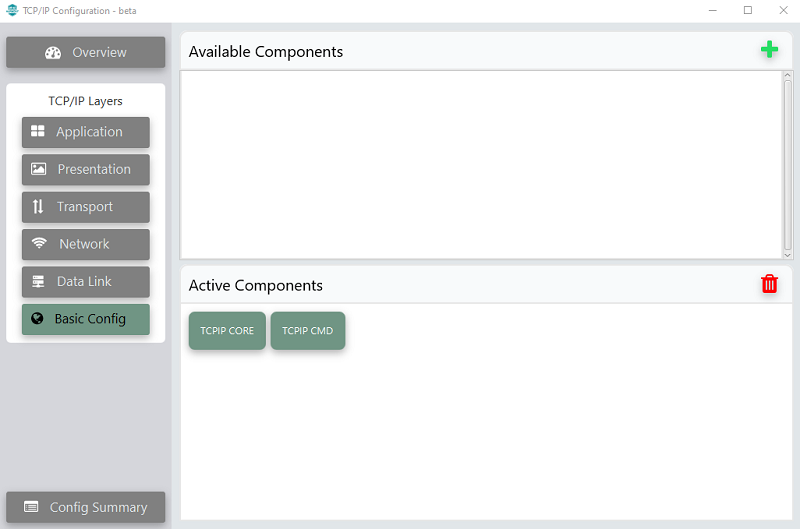
Click Basic Config in TCP/IP Layers on the left side pane
Add TCPIP CMD to project.
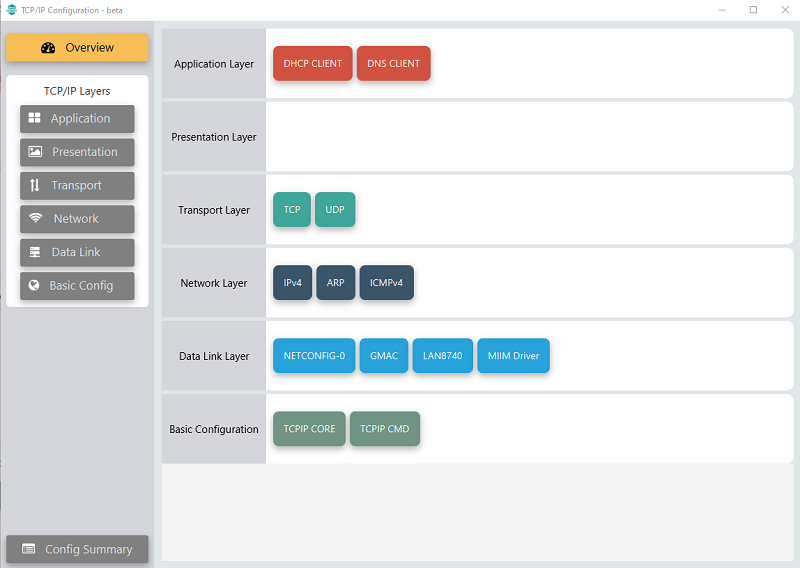
Click Overview on the left side pane to see the complete configuration.
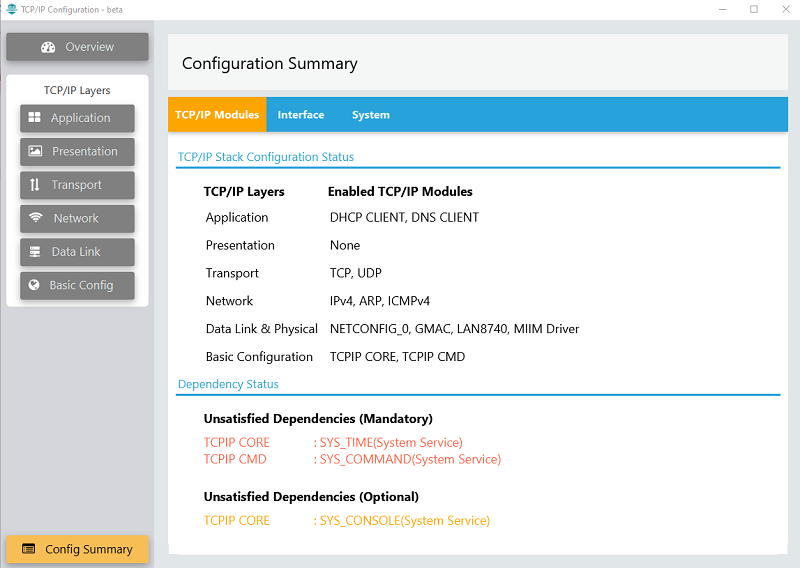
Click Config Summary on the left side pane to see the summary of
configuration. The missing mandatory and optional components will be listed here
Add Harmony components listed in Unsatisfied Dependencies
The online versions of the documents are provided as a courtesy. Verify all content and data in the device’s PDF documentation found on the device product page.