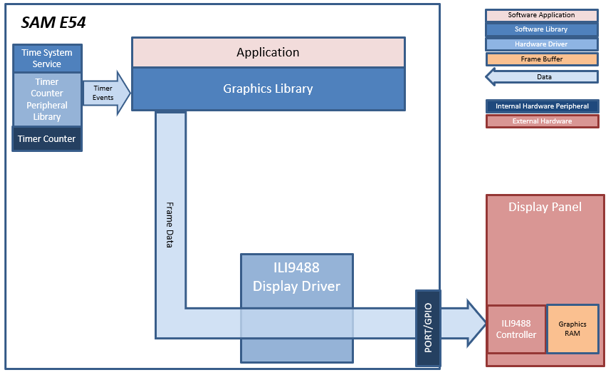
The application continuously uses the graphics library to render text, fill areas, and draw images to the screen. Once a layer is completely rendered to, the graphics library increments a layer swap counter. The application periodically (at 1 second intervals) samples the layer swap counter and calculates the difference from the previous sample. This difference is shown as the Frame Update Rate (Hz).
The following diagrams show the various software and hardware blocks used by each project:
This configuration runs on the SAM E54 Curiosity Ultra board with a 24-bit passthrough GFX interface card and a maXTouch Curiosity Pro display. The maXTouch Curiosity Pro display has an ILI9488 display controller that is used to refresh the display. The ILI9488 controller is connected to the SAM E54 using an 8-bit 8080/Parallel interface thru the port/GPIO peripheral on the SAM E54.
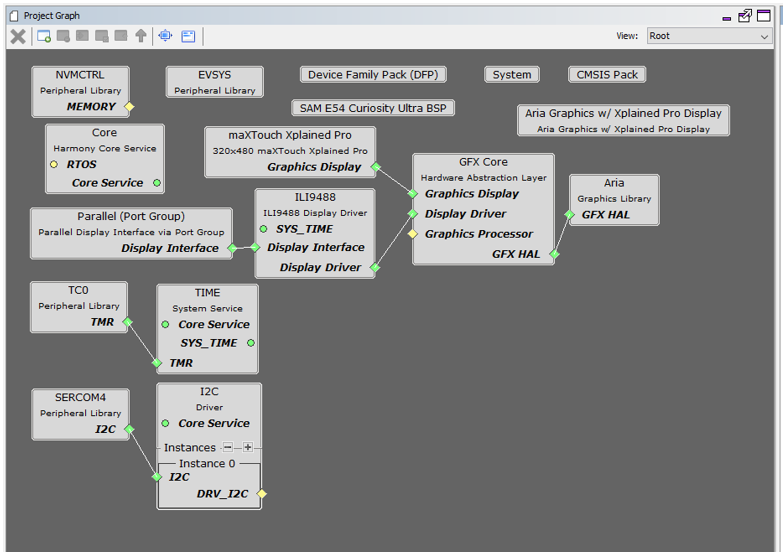
The Project Graph diagram shows the Harmony components that are included in this application. Lines between components are drawn to satisfy components that depend on a capability that another component provides.
Adding the “SAM E54 Curiosity Ultra BSP” and “Aria Graphics w/ Xplained Pro Display” Graphics Template component into the project graph will automatically add the components needed for a graphics project and resolve their dependencies. It will also configure the pins needed to drive the external peripherals like the display. Since this template targets the older maXTouch XPlained Pro Display, the older display was manually replaced with the newer maXTouch Curiosity Pro display in the Project Graph. The maXTouch Controller was also added to project and connected to the display and I2C driver components as shown below.
The Display Interface in the “Aria Graphics w/ Xplained Pro Display” template is configured to “Parallel” mode.

The parent directory for this application is gfx_apps/apps/aria_benchmark. To build this application, use MPLABX IDE to open the gfx_apps/apps/aria_benchmark/firmware/aria_bm_e54_cu_cpro.X project file.
The following table lists configuration properties:
|
Project Name |
BSP Used |
Graphics Template Used |
Description |
|
aria_bm_e54_cu_cpro.X |
SAM E54 Curiosity Ultra BSP |
Aria Graphics w/ Xplained Pro Display (with manual updates) |
SAM E54 Curiosity Ultra w/ maXTouch Xplained Pro display via 8-bit parallel interface |
 Important! Important! |
This application may contain custom code that is marked by the comments // START OF CUSTOM CODE ... and // END OF CUSTOM CODE. When using the MPLAB Harmony Configurator to regenerate the application code, use the "ALL" merging strategy and do not remove or replace the custom code. |
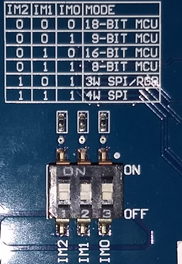
On the backside of the maXTouch Xplained Pro display, set the IM[2:0] switches to ‘011’ for 8-bit MCU mode.
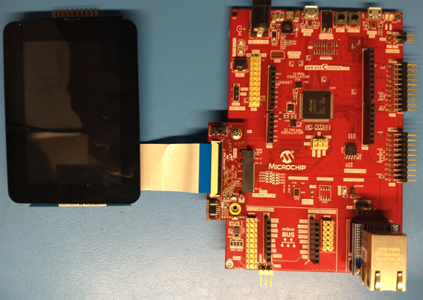
Connect display to the 24-bit Passthrough GFX interface board. Make sure that the S1 switch on the GFX interface board is set to 1. The final hardware set-up should be:
Power up the board by connecting the power adapter to power connector or a powered USB cable to the DEBUG USB port on the board.
On start-up, the application will display a splash screen.
After the splash-screen completes, the String Update benchmark screen is shown. In this screen, a counter is incremented at every application cycle. The screen demonstrates the rate at which the graphics library renders a string on the screen. This involves a fill operation that clears the background, lookup of the glyphs from the string library, and the drawing of the glyphs on the frame buffer.
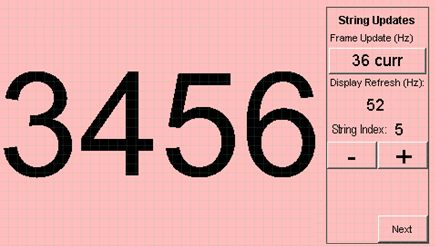
The “Frame Update (Hz)” field shows the current or instantaneous rate at which the graphics library updates the label widget that shows the counter value. Touching the Frame Update value switches between the current value (curr) and the average (avg) value across 10 samples.
Touching the “+” and “-“ buttons increases and decreases the size of the string, respectively.
Touching the “Next” button switches to the Motion and Fill benchmark screen. In this screen, squares are showing moving across the screen. The Frame Update value is the rate at which the graphics library is able to render all the squares on the screen at their new positions. This involves a fill operation of the background color at the old location of the squares and a fill of the squares’ colors at the new position.
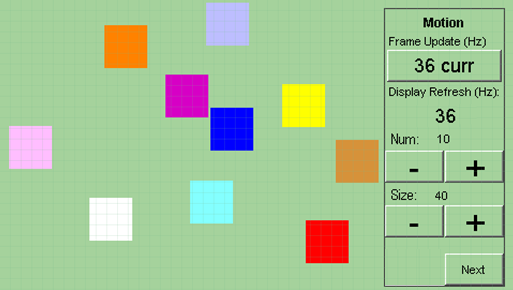
The number and size of the squares can be increased and decreased using the “+“ and “-“ buttons. If the maximum or minimum size is reached, touching “+” or “-“, respectively, will switch to a full screen fill of alternating colors.
Touching the “Next” button transitions to the Image Decode and Rendering screen. In this screen, two images of the same size are alternately rendered between application cycles. This involves a fill of the background color, decode and conversion of the image to the frame buffer format, and the drawing of the image to the frame buffer. The Frame Update value is the rate at which the graphics library is able to render an image on the screen.
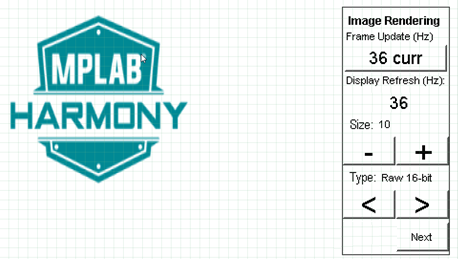
The size of the images can be increased and decreased using the “+“ and “-“ buttons.
Touching the “<” and “>” buttons switches between the various image formats. The formats that are supported are PNG, RAW RLE 16-bit, RAW 16-bit and JPG 24-bit. RAW 32-bit pre-decoded in DDR is also supported in the PIC32MZ DA configurations with DDR memory.
|
MPLAB® Harmony Graphics Suite Applications
|